RF Amplifier
This for this week's lab we learned about RF amplifiers. These circuits purpose is to boost weak AM signals received from the antenna before the intelligence is removed from the modulated waves. Students will use the common source amplifier in combination with a common emitter amplifier to boost their signals. Also after building the RF amplifier we can test out our full radio build!

CS Amplifier Schematic (1)
The first thing the student is asked to do is to build the Common Source amplifier shown in the schematic above. Then we are to measure and record the gain and Q-point with load resistances of 1M ohms, 10k ohms, and 1k ohms. After this is done, the student is to add a RFC, or choke and repeat the process. I've recorded my result from this experiment in the table below.

CS Amp measurements

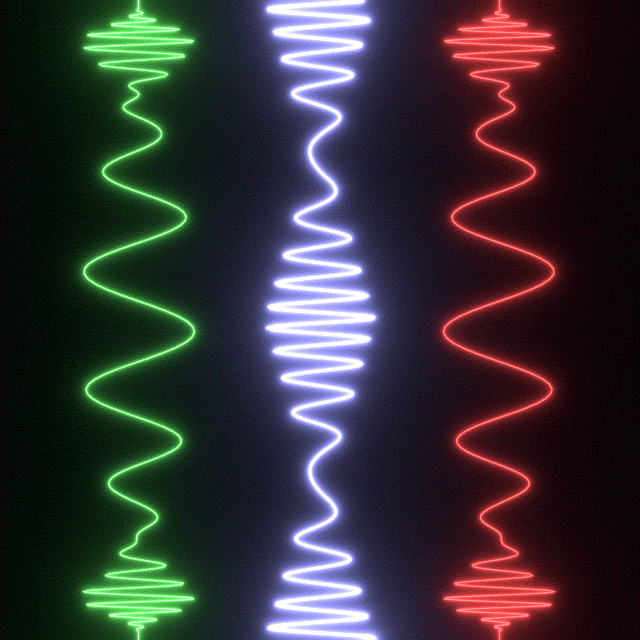
RF Amp output (no RFC)
Few things to note from these results. First of all the Q-point does not change with varying load resistances as indicated by the arrow. Secondly as you can see, when there is no RFC the gain is less than 1 so the signal isn't even being amplified its being reduced! Lastly we can see that when there is an RFC the gain increases as the load impedance does, a trend we've seen quite often in this lab. This brings us to the next portion of the lab, adding a Common Emitter Amplifier to this circuit.

CS+CE Amp Schematic (1)
As mentioned before, the next step is to add the CE amp to our CS amp in order to further increase our gain. Students are asked to measure the Q-point of the newly added BJT in the CE portion of the circuit as well as the gain with various load resistances. I measured a Q-point of roughly 4.48 V, 2.9 mA. My gain measurements are shown in the table below.

2 Stage Amp measurements
From the table above we can see that at all load resistances the gain is significantly improved by the addition of the CE amp, and once again we see the familiar trend that at higher load resistances we get higher gain.
Now the student is asked to connect the output of the 2 Stage RF amplifier to the input of their detector circuit of choice. I went with the biased diode circuit for my detector, and the output is shown below.

2 Stage Amp + Detector output
The detector did a pretty good job extracting the intelligence as you can see in the above screenshot. Now for the final test we need to connect this output to our audio amplifier circuit and see how it sounds. I used a CE-CC audio amplifier circuit for this, and the sound was really good, but I was not completely satisfied with it at first because it was a little noisy. I added some more capacitors to the power rails of my bread board and trimmed the leads on my components to reduce the noise. This resulted in a better sound that I was happy with.
Overall I thought this lab went pretty well for me. I got most of my work done during the first week leaving the second week for me to do some fine toning. Looking forward to moving on to building my antenna in the upcoming lab!
Citation
1.) Stuart M. Wentworth, 2018